Batch Cook & Freeze Chickpeas: Store Smarter, Waste Less
Chickpeas, also known as garbanzo beans, are truly a culinary marvel. These protein-packed legumes are a staple in countless global cuisines, from the hearty stews of the Mediterranean to the vibrant curries of India and the zesty salads of the Middle East. With their distinct buttery, nutty flavor and wonderfully creamy texture, chickpeas elevate any dish they grace. While canned chickpeas offer undeniable convenience, many home cooks are discovering the superior taste, texture, and economic advantages of preparing dried chickpeas from scratch.
If you're looking for a healthier, more flavorful alternative to their canned counterparts, mastering how to prep cook freeze dried chickpeas is a game-changer for your kitchen. This comprehensive guide will walk you through the simple steps to cook dried chickpeas to perfection and then freeze them for convenient future use, saving you time, money, and reducing food waste.
Why Choose Dried Chickpeas: A Flavor & Health Powerhouse
The journey from a humble dried bean to a versatile culinary ingredient is incredibly rewarding. While the convenience of a can is tempting, the benefits of dried chickpeas are compelling:
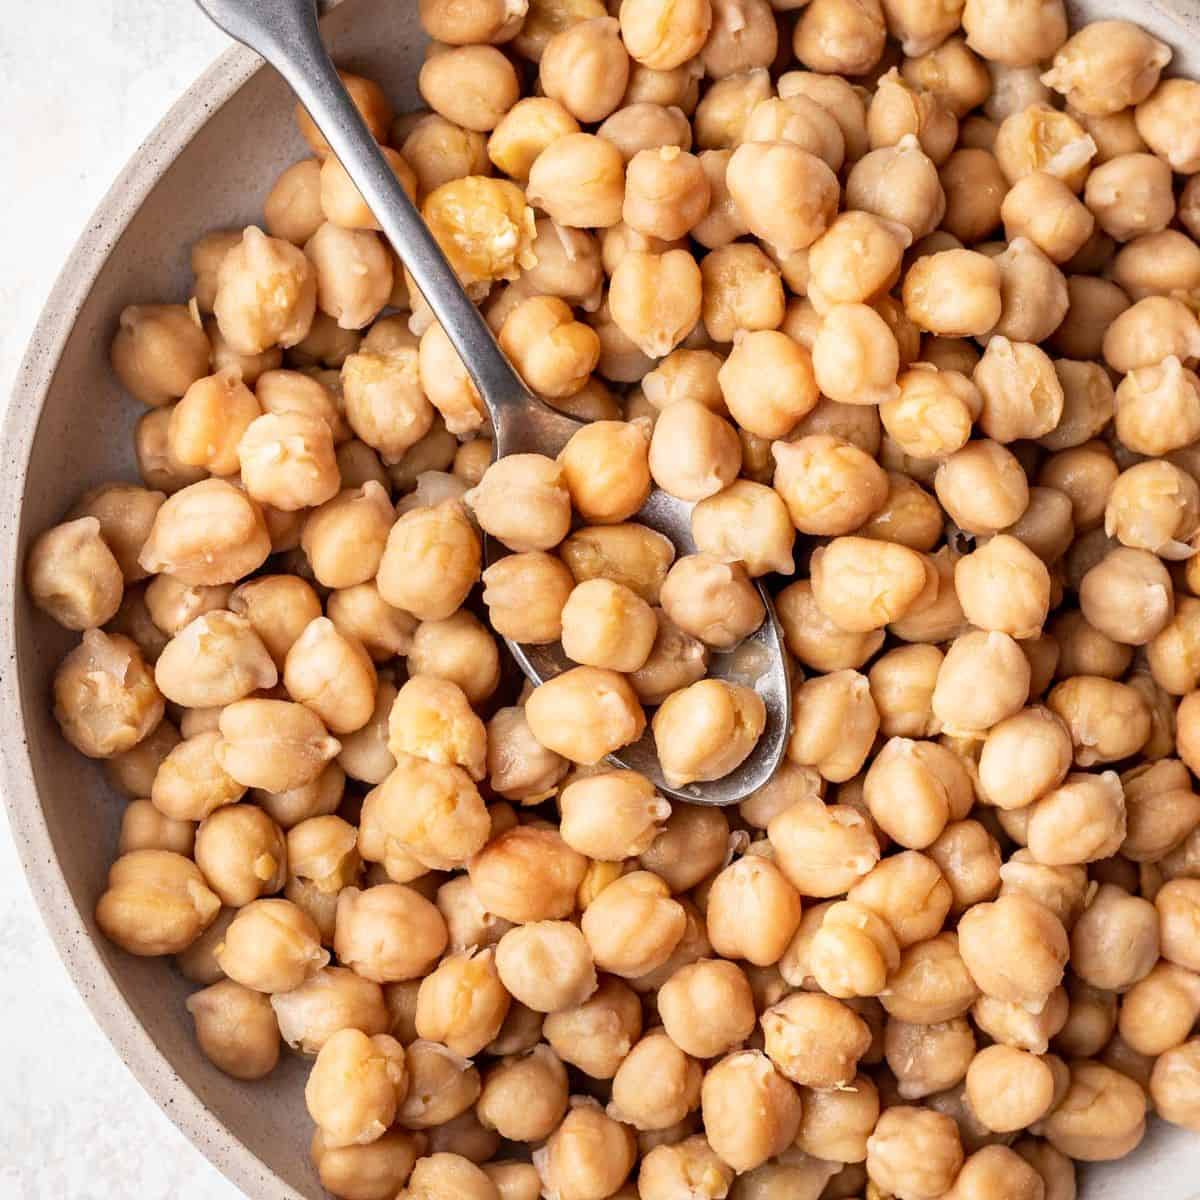
- Superior Flavor and Texture: Home-cooked dried chickpeas boast a richer, fresher flavor and a more desirable creamy-yet-firm texture that canned varieties simply can't match. They absorb flavors better and hold their shape beautifully in dishes.
- Control Over Ingredients: When you cook dried chickpeas yourself, you have complete control over what goes into them. This means no added chemicals, preservatives, or excessive sodium often found in canned goods. This is especially beneficial for those managing their sodium intake.
- Economical Choice: Dried chickpeas are significantly more affordable than canned chickpeas. Batch cooking and freezing them provide substantial savings over time, making healthy eating more accessible. For a deeper dive into the cost and flavor benefits, check out our article: Dried vs. Canned Chickpeas: Why Homemade Wins on Flavor & Cost.
- Long Shelf Life & Pantry Staple: Dried chickpeas are an excellent pantry staple, lasting for months, if not years, when stored properly in a cool, dry place.
- BPA-Free Assurance: Opting for dried chickpeas eliminates concerns about potential BPA exposure from the linings of many canned goods.
- Reduced Food Waste: By batch cooking and freezing, you ensure you always have the right amount of chickpeas on hand, minimizing the likelihood of opening a can and only using half, only for the rest to go to waste.
Quantities: Dried to Cooked Chickpea Conversion
Understanding the yield is key for meal planning:
- Approximately 450g (1 lb.) of dried chickpeas will yield a generous 1.4 kg (3 lb. 4 oz) of cooked chickpeas.
- 1 cup of dried chickpeas typically expands to about 3 cups once cooked.
- For recipes that call for "1 can of chickpeas," this usually equates to about 245g (8.6 ounces) of drained, cooked chickpeas. This is a handy measurement to keep in mind when portioning for freezing.
Your Step-by-Step Guide: How to Prep, Cook, and Freeze Dried Chickpeas
Learning how to prep cook freeze dried chickpeas isn't just about saving money; it's about unlocking fresher flavors and streamlining your meal prep. Here’s how to do it efficiently.
Step 1: Sorting and Rinsing
Before soaking, always spread your dried chickpeas on a clean surface or baking sheet. Visually inspect them for any small stones, debris, or shriveled beans. Discard anything that doesn't look like a healthy chickpea. Then, rinse them thoroughly under cold running water in a colander.
Step 2: Soaking for Success
Soaking chickpeas is a crucial step that rehydrates them, significantly reduces cooking time, and can also make them easier to digest by breaking down some of their complex sugars. You have two main options:
- Overnight Soak (Traditional Method): Place the rinsed chickpeas in a large bowl and cover them with plenty of cold water – at least 3 times their volume, as they will expand significantly. Add about 1 teaspoon of baking soda per pound of chickpeas; this helps soften their skins and reduces cooking time. Let them soak for 8-12 hours, or overnight, at room temperature.
- Quick Soak Method: If you're short on time, combine the rinsed chickpeas with water (again, at least 3 times their volume) in a large pot. Bring to a boil, then remove from heat, cover, and let them stand for 1 hour.
After soaking (either method), drain the chickpeas and rinse them again thoroughly before cooking. Discard the soaking water.
Mastering the Cook: Stovetop, Instant Pot, and Slow Cooker Methods
Once soaked, cooking dried chickpeas to that perfect tender, creamy consistency is straightforward, regardless of your preferred appliance.
Stovetop Method (Classic & Reliable)
- Place the rinsed, soaked chickpeas in a large pot or Dutch oven.
- Cover with fresh cold water by at least 2-3 inches. You can add a bay leaf or a piece of kombu for extra flavor and digestion aid, but avoid salt at this stage as it can toughen the skins.
- Bring the water to a rolling boil over high heat, then reduce the heat to a gentle simmer. Skim off any foam that rises to the surface.
- Cover the pot and simmer for 60-90 minutes, or until the chickpeas are tender and creamy to your liking. The exact time will vary based on the age of your chickpeas and desired texture.
- Drain the cooked chickpeas, reserving some of the cooking liquid if desired (it's great for hummus!).
Instant Pot Method (Fast & Efficient)
- Place the rinsed, soaked chickpeas (or unsoaked, though soaking is recommended for texture) in your Instant Pot.
- Add fresh water, ensuring the chickpeas are covered by about 1-2 inches. Again, no salt yet.
- For soaked chickpeas: Seal the lid and set to High Pressure for 10-15 minutes. Allow for a natural pressure release for 10-15 minutes, then quick release any remaining pressure.
- For unsoaked chickpeas: Seal the lid and set to High Pressure for 40-50 minutes. Allow for a natural pressure release for 15-20 minutes.
- Drain the cooked chickpeas.
Slow Cooker Method (Hands-Off & Convenient)
- Place the rinsed, soaked chickpeas in your slow cooker.
- Add fresh water, covering the chickpeas by at least 2-3 inches.
- Cook on High for 3-4 hours or on Low for 6-8 hours, until tender.
- Drain the cooked chickpeas.
Once cooked, you can now season your chickpeas with salt to taste. They are ready for immediate use in your favorite recipes, or for smart freezing!
Smart Storage: Freezing Chickpeas to Prevent Waste
Freezing your batch-cooked chickpeas is the ultimate hack for efficient meal prep and preventing food waste. For a comprehensive overview of meal prep strategies, don't forget to check out our Cook & Freeze Dried Chickpeas: The Ultimate Meal Prep Guide.
How to Freeze Cooked Chickpeas
- Cool Completely: This is critical! Ensure your cooked chickpeas are completely cooled to room temperature before freezing. Freezing warm food can lower the overall freezer temperature and affect the quality of other frozen items.
- Portion Smartly: Divide the cooled chickpeas into usable portions. A common and convenient portion is the equivalent of one can of chickpeas (approximately 1.5 cups or 245g drained weight). This makes grabbing a portion for a recipe incredibly easy.
- Choose Your Container:
- Freezer Bags: Place portions into heavy-duty freezer bags. Press out as much air as possible before sealing to prevent freezer burn. Lay them flat to freeze, which saves space.
- Airtight Containers: Use freezer-safe, airtight containers. You can even add a little of the cooking liquid to cover the chickpeas, which can help maintain their texture and prevent drying out.
- Ice Cube Trays (for smaller portions): For very small amounts or to easily add to sauces, freeze cooked chickpeas in ice cube trays with a little water or broth. Once frozen, transfer the cubes to a freezer bag.
- Label and Date: Always label your containers or bags with the contents (e.g., "Cooked Chickpeas") and the date they were frozen. This helps you keep track of freshness.
Properly frozen chickpeas can maintain their quality for up to 6 months. Beyond that, they are still safe to eat but might experience a slight decline in texture.
Thawing & Enjoying Your Batch-Cooked Chickpeas
When you're ready to use your frozen chickpeas, thawing them is simple:
- In the Refrigerator: The safest method is to transfer the frozen chickpeas to the refrigerator the night before you plan to use them.
- Quick Thaw: For faster thawing, place the sealed bag or container under cold running water, or empty them into a bowl of cold water (changing the water every 30 minutes).
- Directly in Cooking: For dishes like stews, soups, or curries, you can often add frozen chickpeas directly to the pot; just allow a few extra minutes for them to heat through.
Once thawed, use your chickpeas just as you would freshly cooked or canned ones. They're perfect for homemade hummus, adding to vibrant salads, simmering in warming stews, creating plant-based burgers, or roasting with spices for a crunchy snack.
Conclusion
Embracing the habit of batch cooking and freezing dried chickpeas is a simple yet powerful step towards a more efficient, economical, and wholesome kitchen. By taking the time to learn how to prep cook freeze dried chickpeas, you're not just preparing a versatile ingredient; you're investing in healthier meals, reducing food waste, and enjoying superior flavor and texture. Say goodbye to canned chickpea guilt and hello to a pantry staple that's always fresh, always ready, and always delicious!
